Uploading Your First Document
To upload a document:
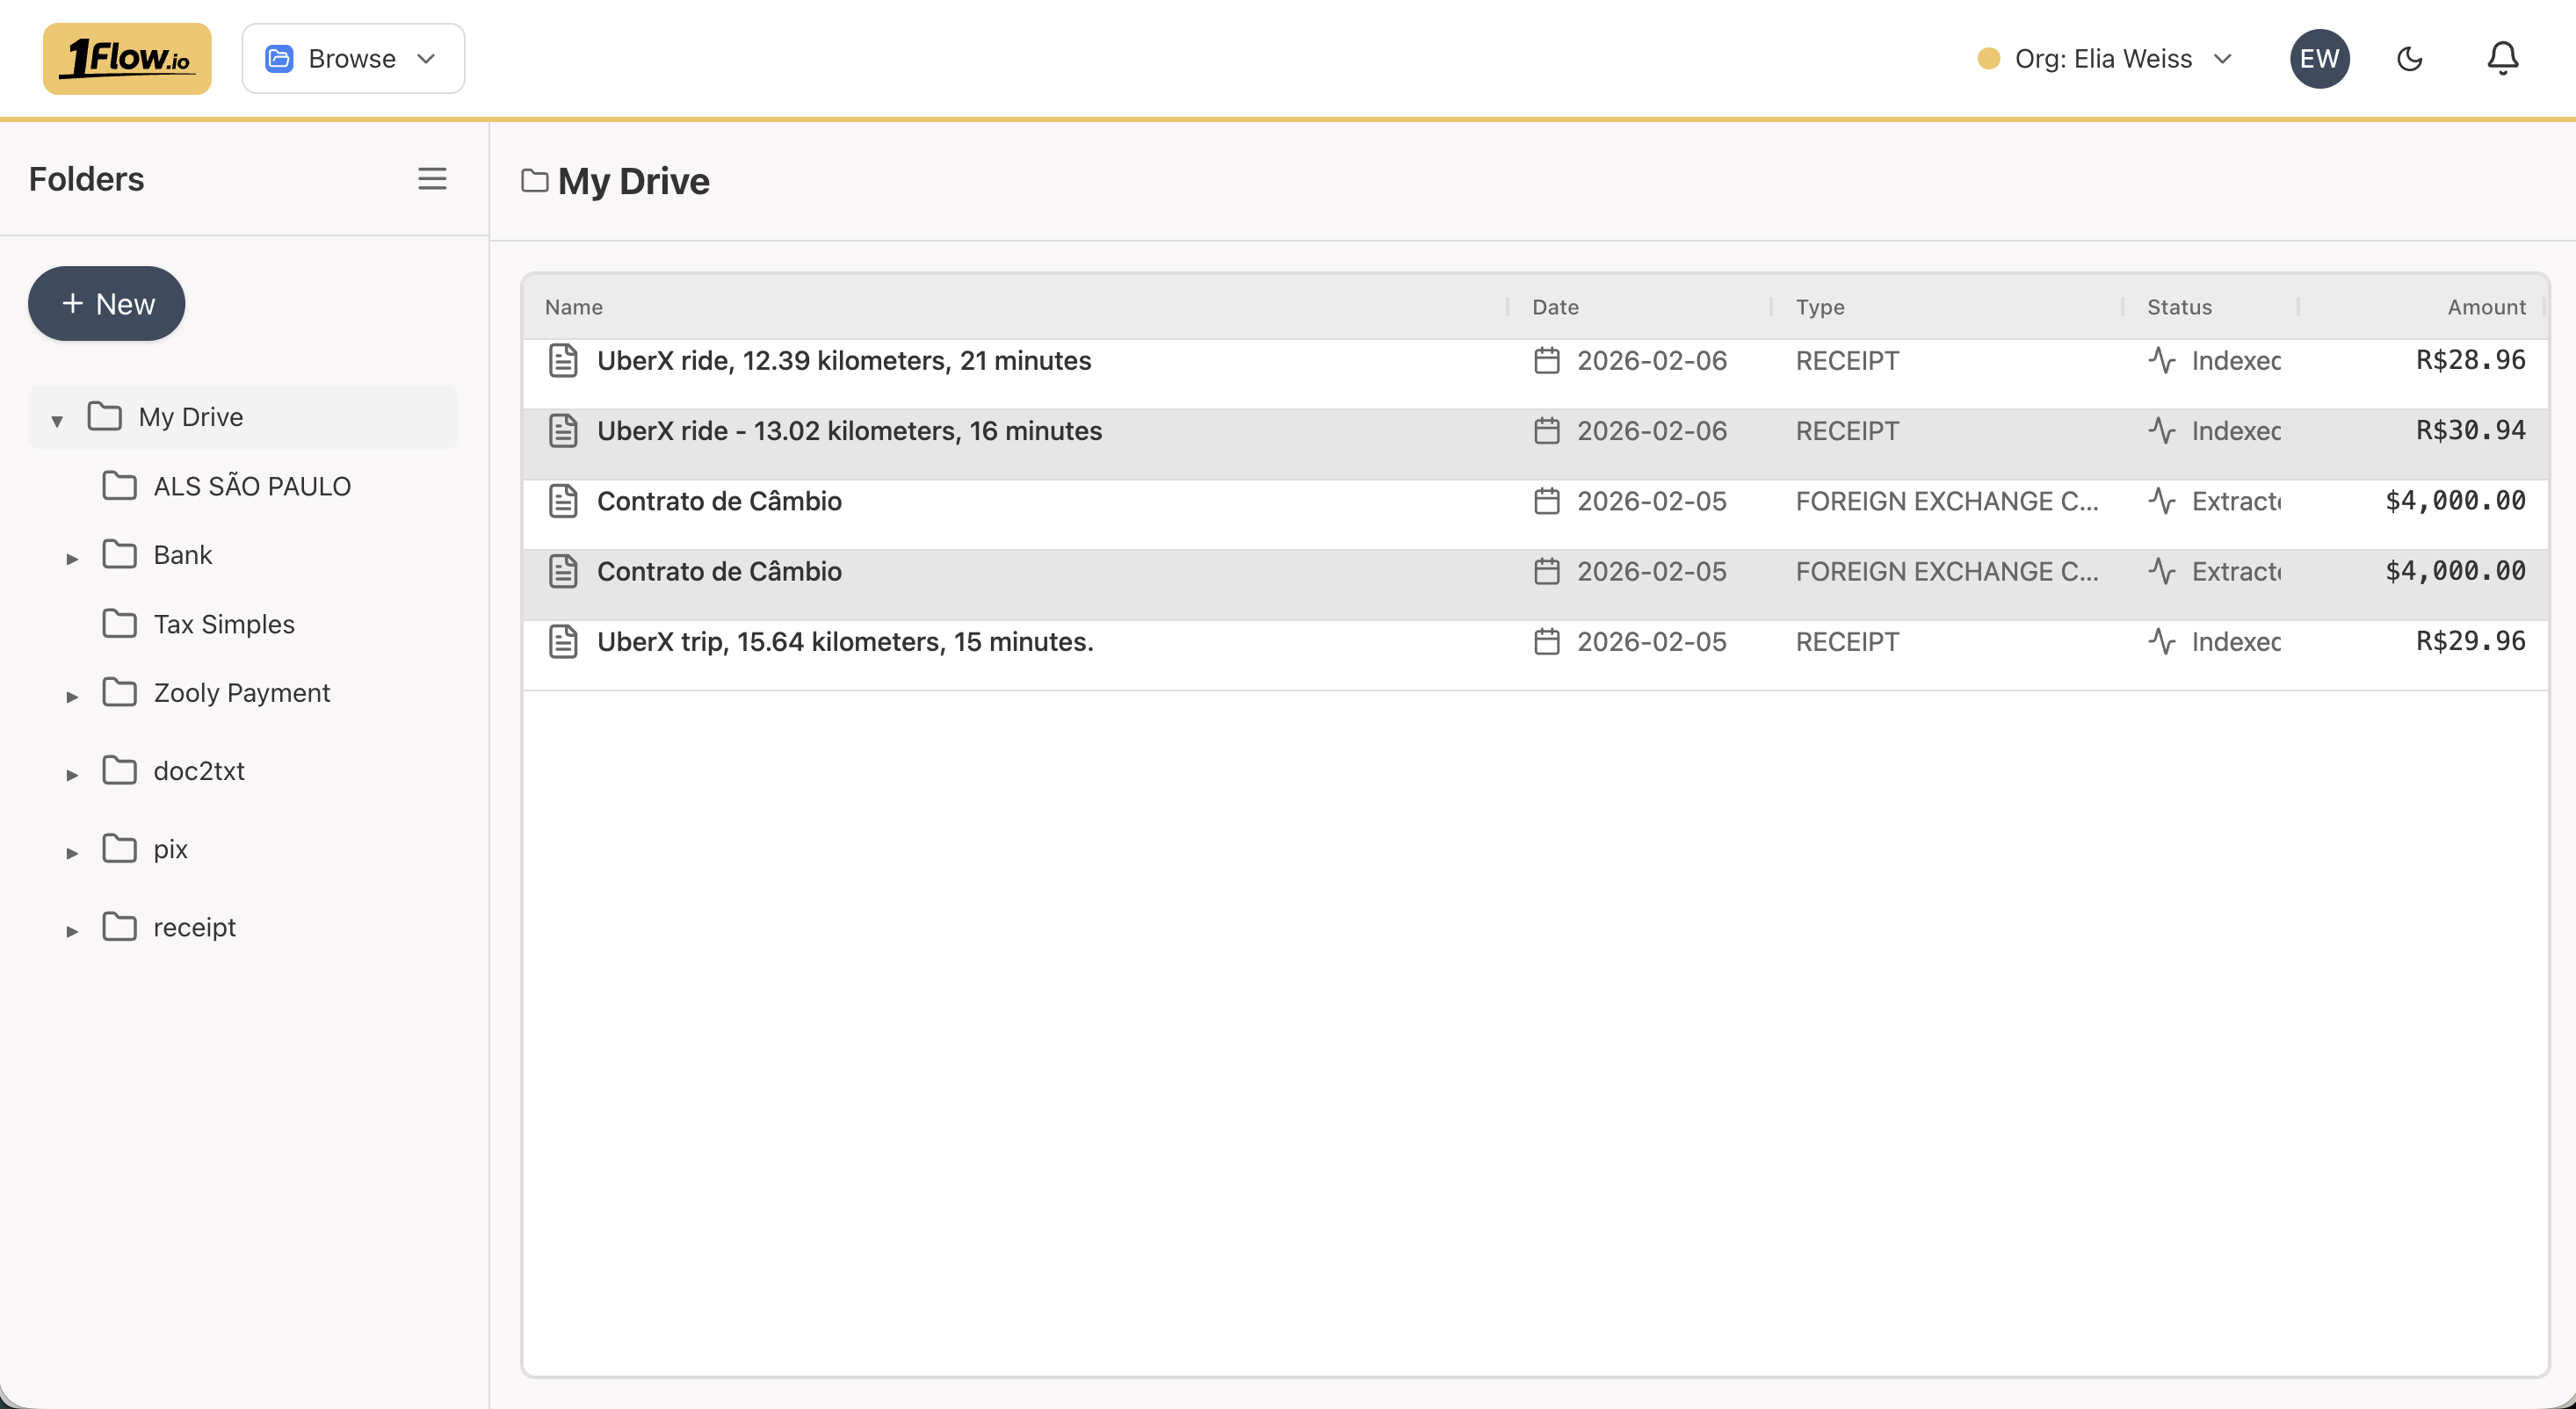
- Go to the Browse page
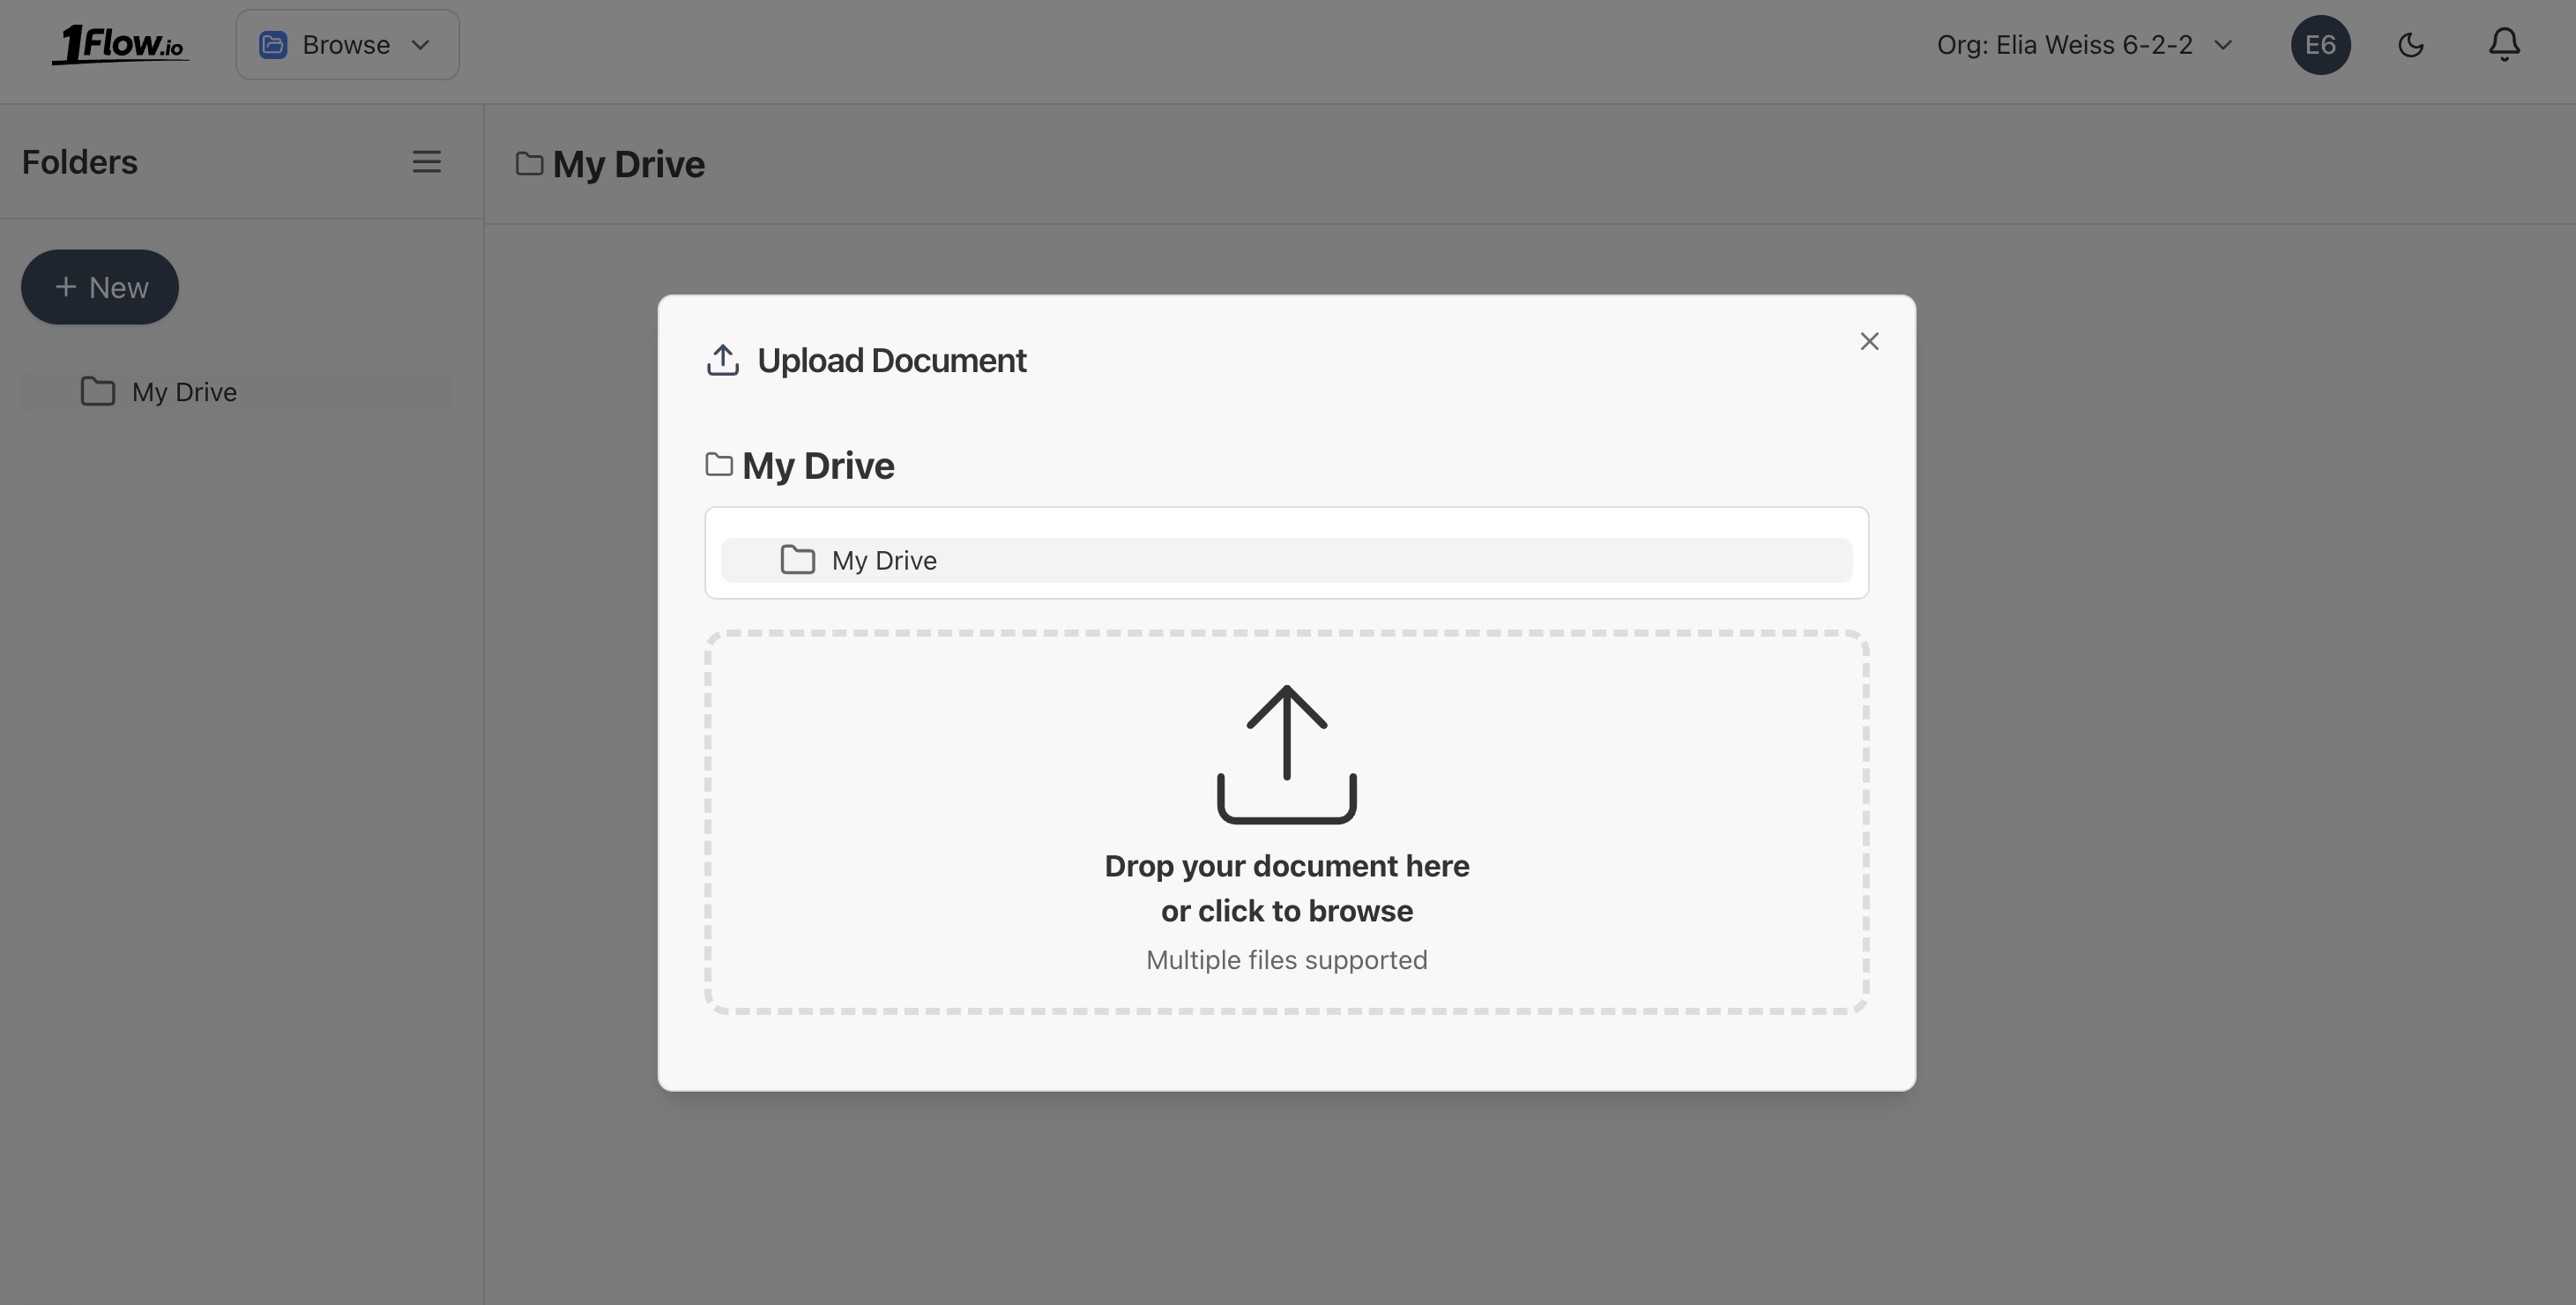
- Click New, then Upload
- Choose a file from your computer
- The system will begin processing it automatically
You can also drag and drop files directly into the browser window.
Documents are uploaded into the folder you are currently viewing.
If the document type has a Folder Mapping configured and you upload to the root folder (My Drive), the document will automatically be moved to the mapped folder.
Supported File Types
The following file types are supported: PDF and images (PNG, JPG).
XLSX (Excel) and CSV
XLSX and CSV files are also supported. They behave like any other document type, but are additionally marked as Datasets - making them available for use with Formula Fields (see Extraction Templates for details on formula code).
XLSX and CSV files should follow these guidelines:
- Include a header row with column names
- Use a consistent data format throughout
- Contain a single table per file
- For multi-tab XLSX files, only the first tab is processed
AI-Powered Parsing
Every uploaded document goes through an automated multi-step processing pipeline:
0. Upload Complete
The file has been received and is queued for processing.
Status: PENDING
1. Quick Pass - Initial Detection
A fast preliminary scan identifies the document type, title, date, and total amount. These values may be refined in subsequent steps.
Status: PARTIAL
2. Deep Extraction - Schema-Based Processing
A comprehensive extraction pass analyzes the document according to its document type schema. Formula Fields (see Extraction Templates) are also evaluated during this step.
Status: EXTRACTED
3. Indexing - Search Preparation
The extracted data is indexed so the document becomes searchable.
Status: INDEXED
Each step runs in the background. Processing usually completes within a minute, though it may take longer during periods of high activity.
Upload App Shortcut
The Upload app shortcut is available on the Apps screen and can be pinned to the Quick Access Bar for easy access.
The Upload shortcut is simply the Browse app with the upload dialog opened automatically.
What's Next?
- Email Upload - Send documents via email for automatic processing
- Upload API - Programmatically upload documents via API
- Extraction Templates - Define custom extraction schemas
- Pricing - Simple per-page pricing details
- FAQ - Common questions answered
- API Overview - Explore all integration methods